Transform Your Backyard with a DIY Raised Garden Bed
Posted by Siphesihle Hato in How To Guides
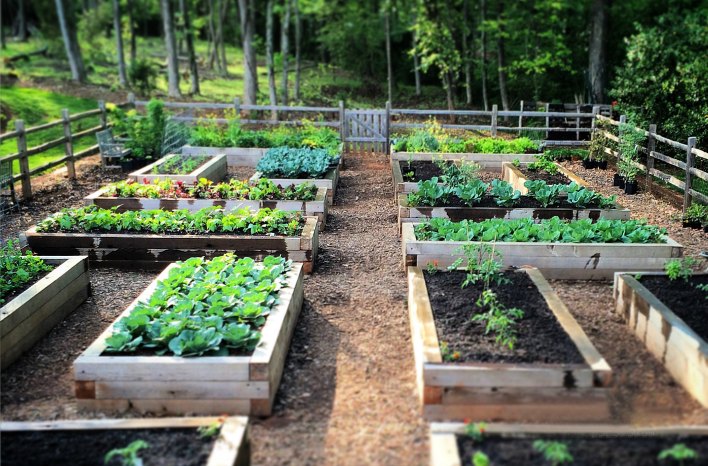
Creating a raised garden bed is a fantastic way to enhance your backyard, providing a dedicated space for growing vegetables, flowers, and herbs. Not only do raised garden beds offer better soil control and improved drainage, but they also make gardening more accessible by reducing the need to bend over. In this guide, we’ll walk you through the process of building a raised garden bed using materials and tools available at Garden.Tools4.
Benefits of Raised Garden Beds
Before diving into the construction process, let’s explore the benefits of raised garden beds:
- Improved Soil Quality: You have full control over the soil, ensuring it’s rich in nutrients and free of weeds.
- Better Drainage: Raised beds prevent waterlogging, reducing the risk of root rot.
- Ease of Access: Less bending and kneeling make gardening more comfortable.
- Pest Control: Raised beds can deter some pests and make it easier to manage others.
Materials and Tools You’ll Need
Materials
- Wood Planks: Cedar or redwood are excellent choices due to their resistance to rot.
- Galvanized Screws: Durable and resistant to rust.
- Landscape Fabric: Helps prevent weeds from growing.
- Soil: A mix of garden soil and compost for optimal plant growth.
- Mulch: Optional, for retaining moisture and reducing weeds.
Tools
- Saw: For cutting wood to the desired length.
- Drill: For creating pilot holes and driving screws.
- Measuring Tape: For precise measurements.
- Level: Ensures your bed is perfectly horizontal.
- Shovel: For digging and moving soil.
- Staple Gun: To attach landscape fabric to the wooden frame.
All these materials and tools can be conveniently found at Garden.Tools4.
 Step-by-Step Guide to Building Your Raised Garden Bed
Step 1: Plan Your Garden Bed
Decide on the size and location of your raised garden bed. A typical size is 4 feet by 8 feet, which is manageable for most backyards and allows easy access to the center of the bed from both sides.
Step 2: Cut the Wood
Using your measuring tape, mark the wood planks to the desired lengths. A standard 4×8 bed requires:
- Two 4-foot planks
- Two 8-foot planks
Cut the wood using a saw. Make sure the cuts are straight to ensure a snug fit when assembling the frame.
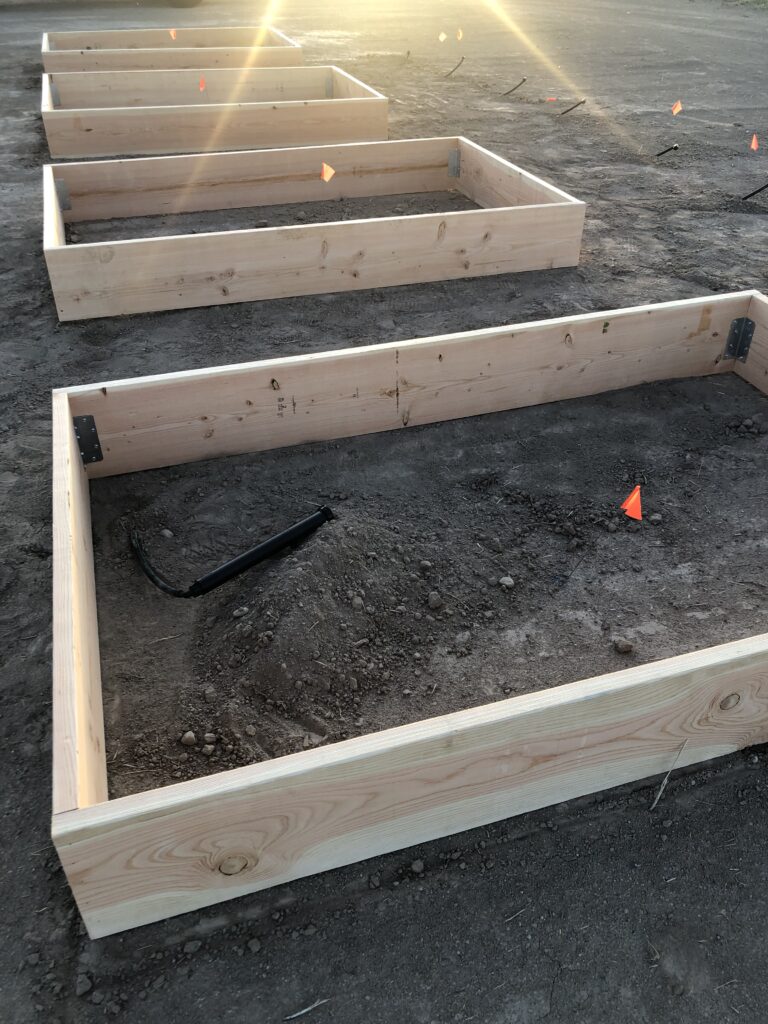
Step 3: Assemble the Frame
Lay out the wood planks in the desired shape of your garden bed. Drill pilot holes at each corner to prevent the wood from splitting. Use galvanized screws to secure the corners together, forming a sturdy rectangle.
Step 4: Prepare the Ground
Clear the chosen area of any grass and weeds. Level the ground as much as possible to ensure your garden bed sits evenly. If you have issues with pests, consider laying down hardware cloth before positioning the bed frame.
Step 5: Attach Landscape Fabric
Line the bottom of the garden bed with landscape fabric. This will help prevent weeds from growing into your garden bed from below. Use a staple gun to attach the fabric to the inside of the wooden frame.
 Step 6: Fill the Bed with Soil
Fill your garden bed with a mix of garden soil and compost. This provides a nutrient-rich environment for your plants. You can also add mulch on top to help retain moisture and reduce weeds.
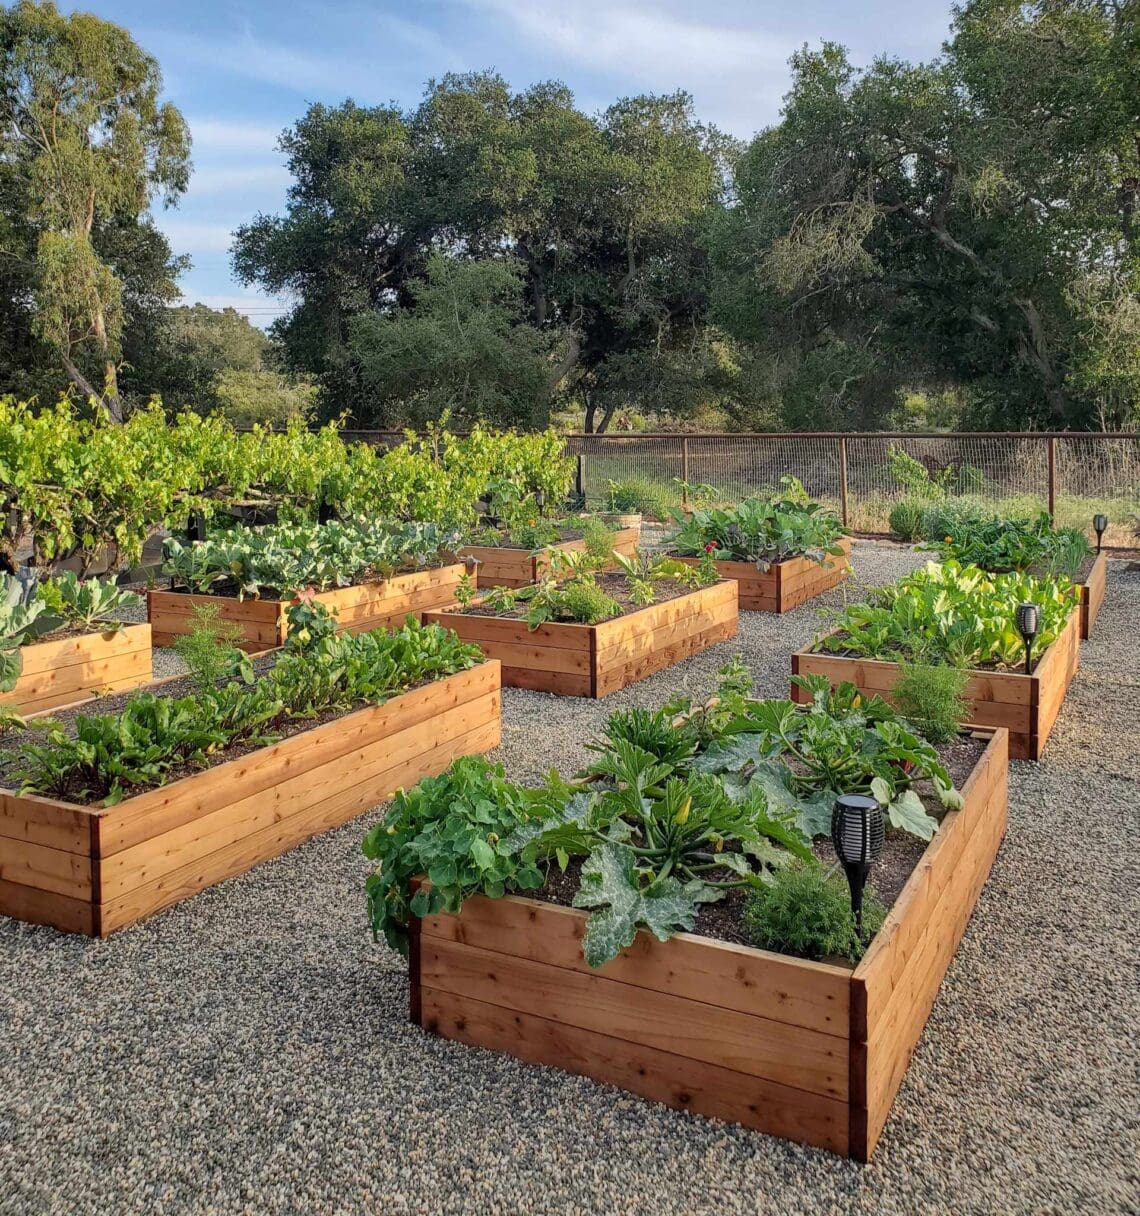
Step 7: Plant Your Garden
Now that your raised garden bed is ready, it’s time to start planting! Choose vegetables, flowers, or herbs that suit your climate and growing season. Follow planting guidelines for spacing and depth to ensure healthy growth.
Tips for Success
- Regular Maintenance: Keep your garden bed well-watered and free of weeds.
- Rotate Crops: If growing vegetables, rotate crops each season to maintain soil health.
- Use Mulch: Mulch helps retain moisture and keeps the soil temperature consistent.
Building a raised garden bed is a rewarding project that can transform your backyard into a vibrant and productive garden space. With materials and tools from Garden.Tools4, you can create a durable and attractive garden bed that will serve you well for years to come. Start your DIY raised garden bed project today and enjoy the benefits of homegrown vegetables and beautiful flowers!
Comments
Add comment