Unlocking Your DIY Potential: Building a Garden Shed with Pallets
Posted by Siphesihle Hato in How To Guides
The summer season in South Africa presents the perfect opportunity to embark on DIY projects, and if you’re looking to add both functionality and charm to your garden, consider building a garden shed with pallets. Pallets are versatile, cost-effective building materials that can be repurposed into a stylish and functional garden shed. In this guide, we’ll take you through the steps to create your very own pallet garden shed for a unique and rewarding holiday project.
Materials and Tools You’ll Need:
- Pallets (quantity depends on shed size)
- Plywood sheets for the roof and walls
- Roofing material (corrugated iron or similar)
- Nails or screws
- Circular saw or reciprocating saw
- Hammer or drill
- Measuring tape
- Level
- Work gloves and safety goggles
- Paint or wood stain (optional)
Step 1: Planning and Design
Begin by deciding on the size and layout of your garden shed. Take into consideration the available space in your garden and what you plan to store in the shed. Sketch out a rough design with dimensions to serve as your guide.
Step 2: Preparing the Pallets
Collect pallets from local businesses or construction sites. Make sure they are in good condition and free from any rot or damage. Carefully dismantle the pallets using a circular saw or reciprocating saw, salvaging the individual planks for use in your shed.
Step 3: Building the Shed Frame
Create a sturdy frame for your shed by connecting the pallet planks. The pallets can be used as the base and sides of the shed. Use nails or screws to attach the planks together, ensuring they are level and square. Depending on the size of your shed, you may need to cut pallets to fit.
Step 4: Roof Construction
For the roof, attach plywood sheets to the top of the shed frame. Overlap the sheets slightly to provide stability and protection from the elements. Cover the plywood with your chosen roofing material, such as corrugated iron or metal sheets. Ensure the roof is watertight by sealing gaps with appropriate materials.
 Step 5: Wall Paneling
Cover the sides of your pallet shed with additional plywood sheets, leaving space for windows and a door. Create a door frame using pallet planks and attach a plywood door. You can also add windows for natural light, using reclaimed materials or repurposed frames.
Step 6: Finishing Touches
Once the basic structure is complete, consider adding finishing touches like paint or wood stain. This not only enhances the appearance but also protects the wood from weathering. Choose colors that complement your garden’s aesthetic.
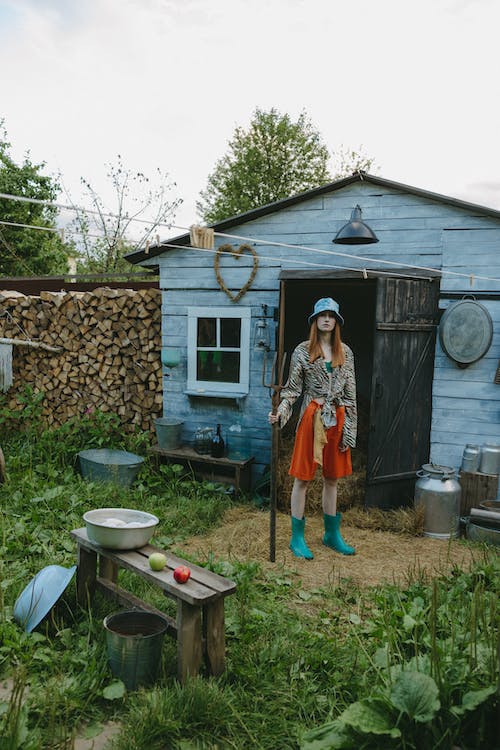
Step 7: Positioning and Foundation
Select a suitable location for your garden shed, ensuring it is level and stable. If necessary, create a foundation using concrete slabs or paving stones to keep the shed off the ground and protect it from moisture.
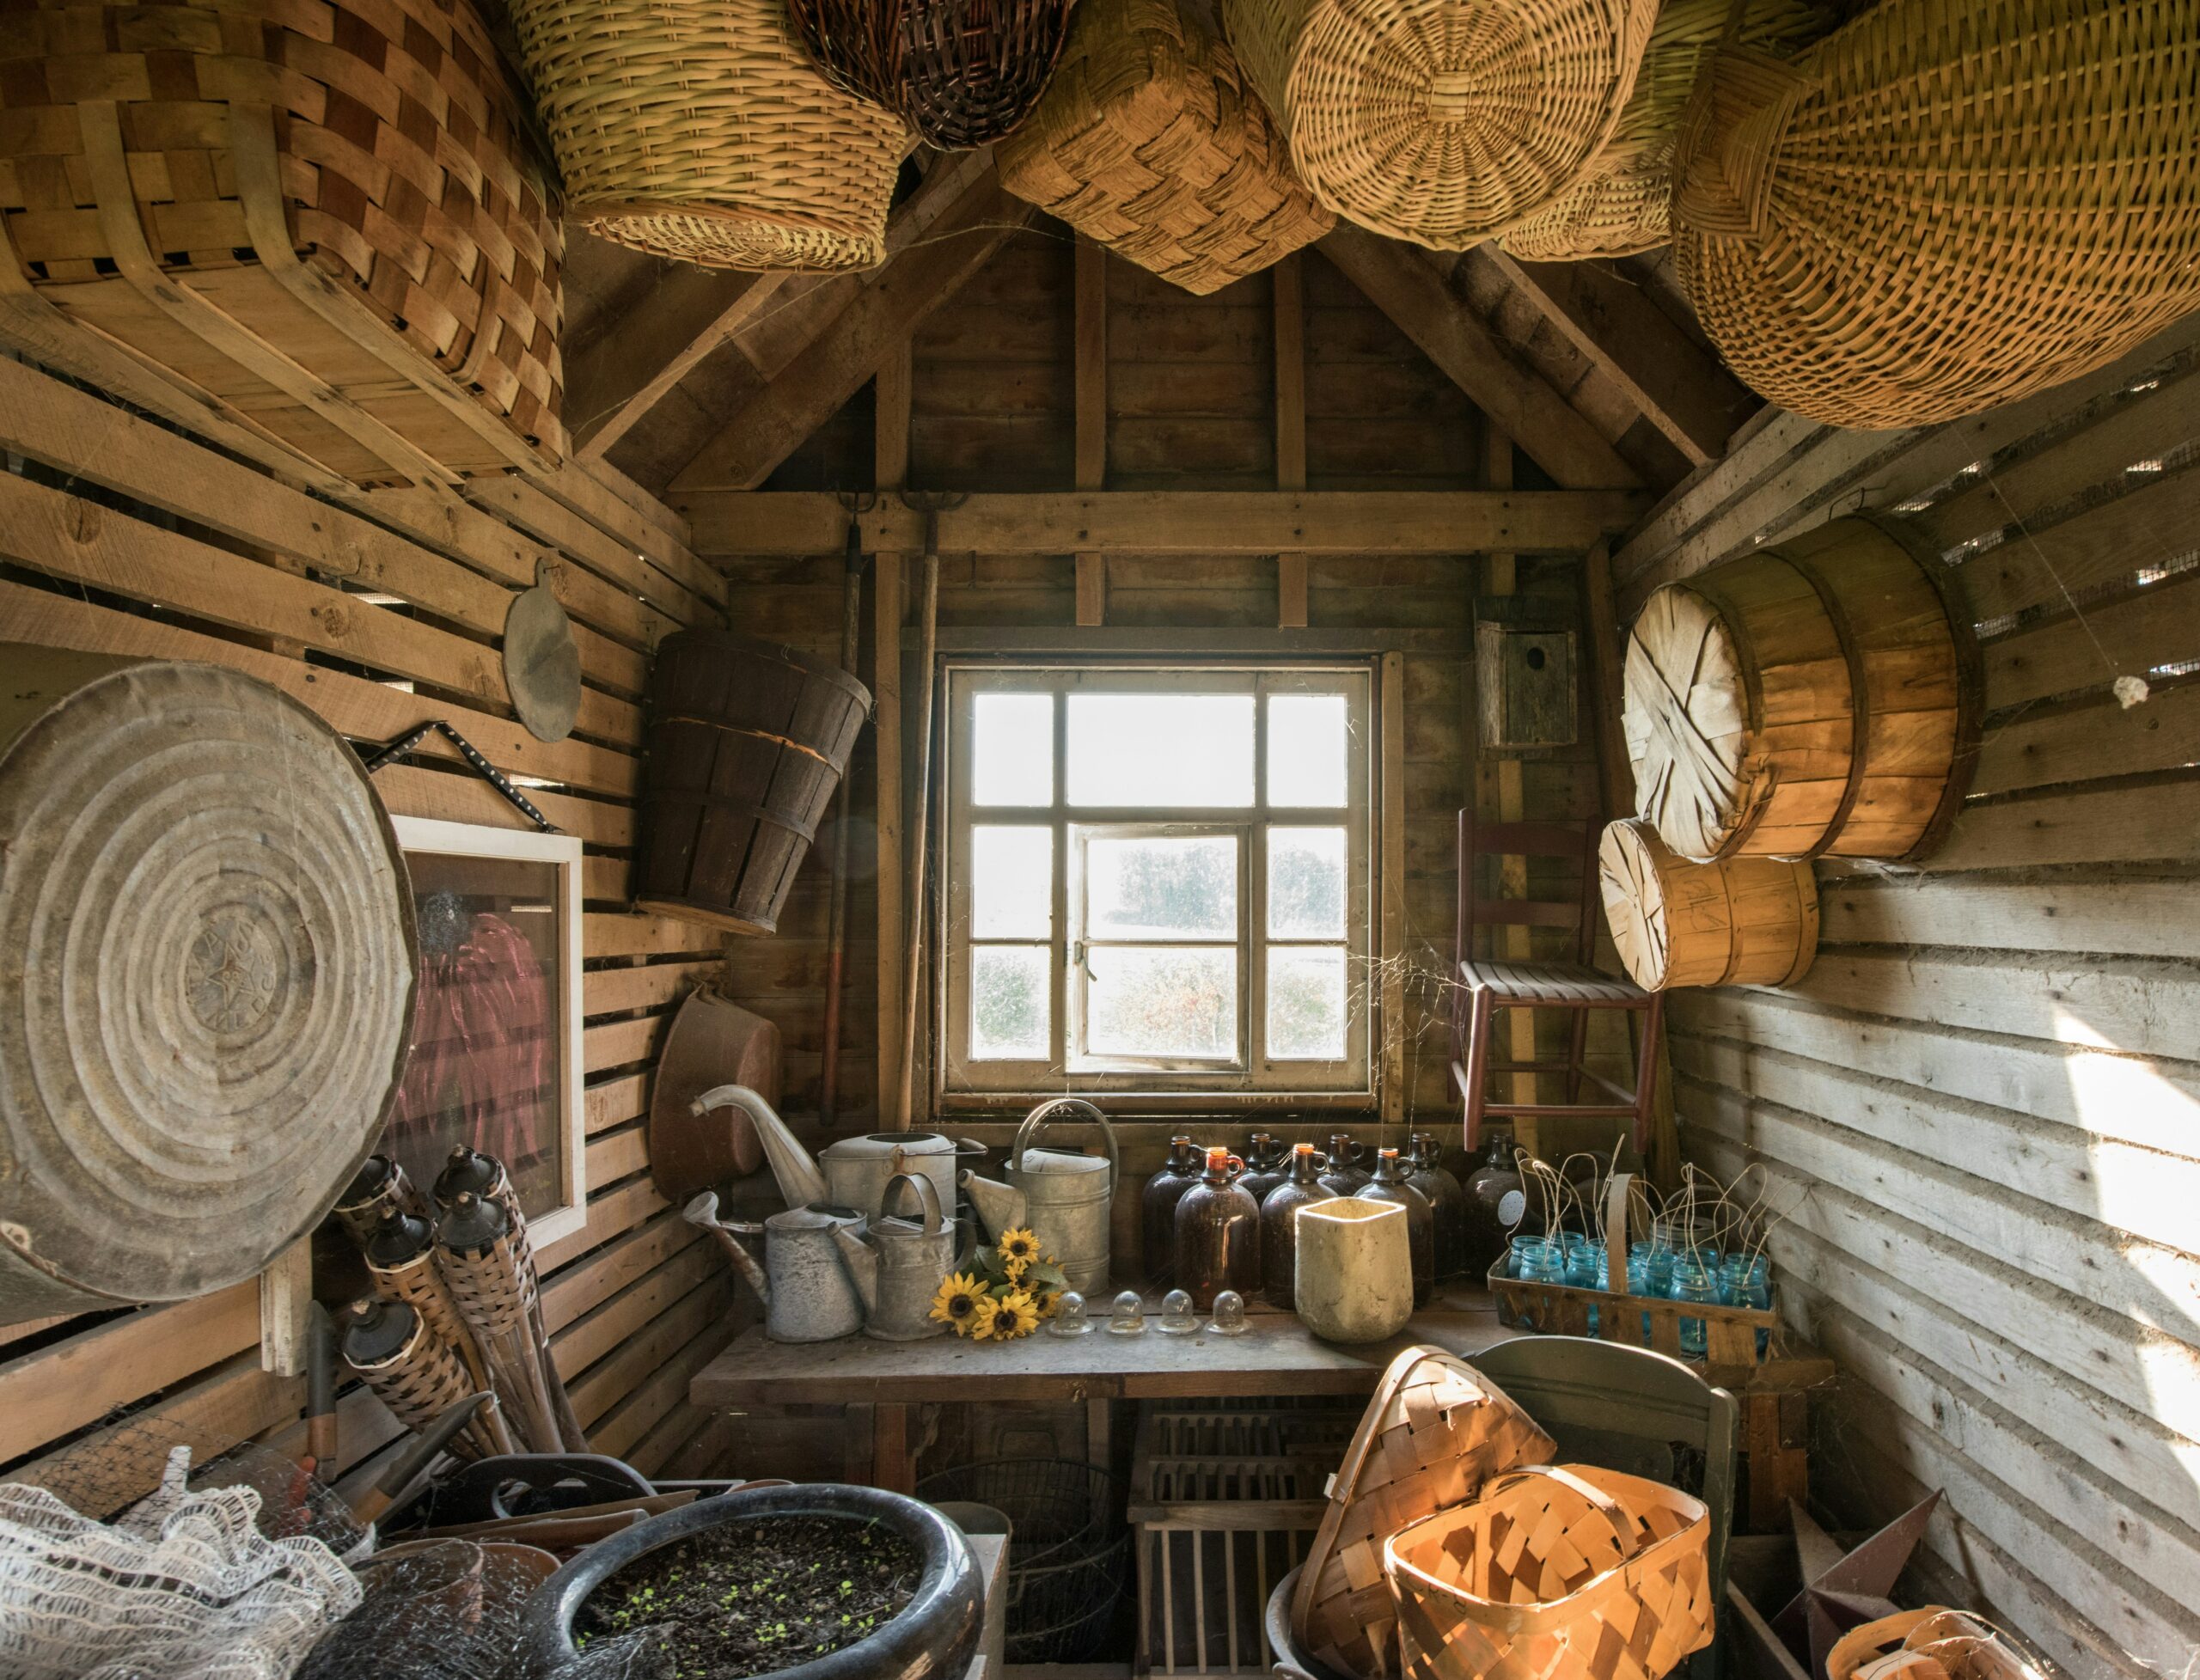
Step 8: Organizing the Interior
Now that your pallet garden shed is assembled and in place, organize the interior to suit your needs. Install shelves, hooks, and storage solutions to make the most of the space. Consider adding a workbench or potting area if you’re a keen gardener.
By building your own garden shed with pallets this summer season , you not only add a functional and stylish structure to your garden but also embrace the spirit of DIY creativity. This project allows you to repurpose materials, save money, and enjoy the satisfaction of a job well done. Your unique garden shed will serve as a testament to your DIY skills and create a space to store tools, supplies, and indulge in your gardening hobbies. Happy building!
Comments
Add comment